“Buttering Up: A Friendly Guide to Acquiring Top-Notch Weed Butter”
Welcome, fellow culinary cannabis enthusiasts! Today we’re diving into a delightful and delectable topic that’s sure to tantalize your taste buds and tickle your senses – weed butter! Whether you’re an experienced chef or a novice in the kitchen, this guide will provide you with all the tips, tricks, and insights needed to create the perfect cannabis-infused culinary masterpiece.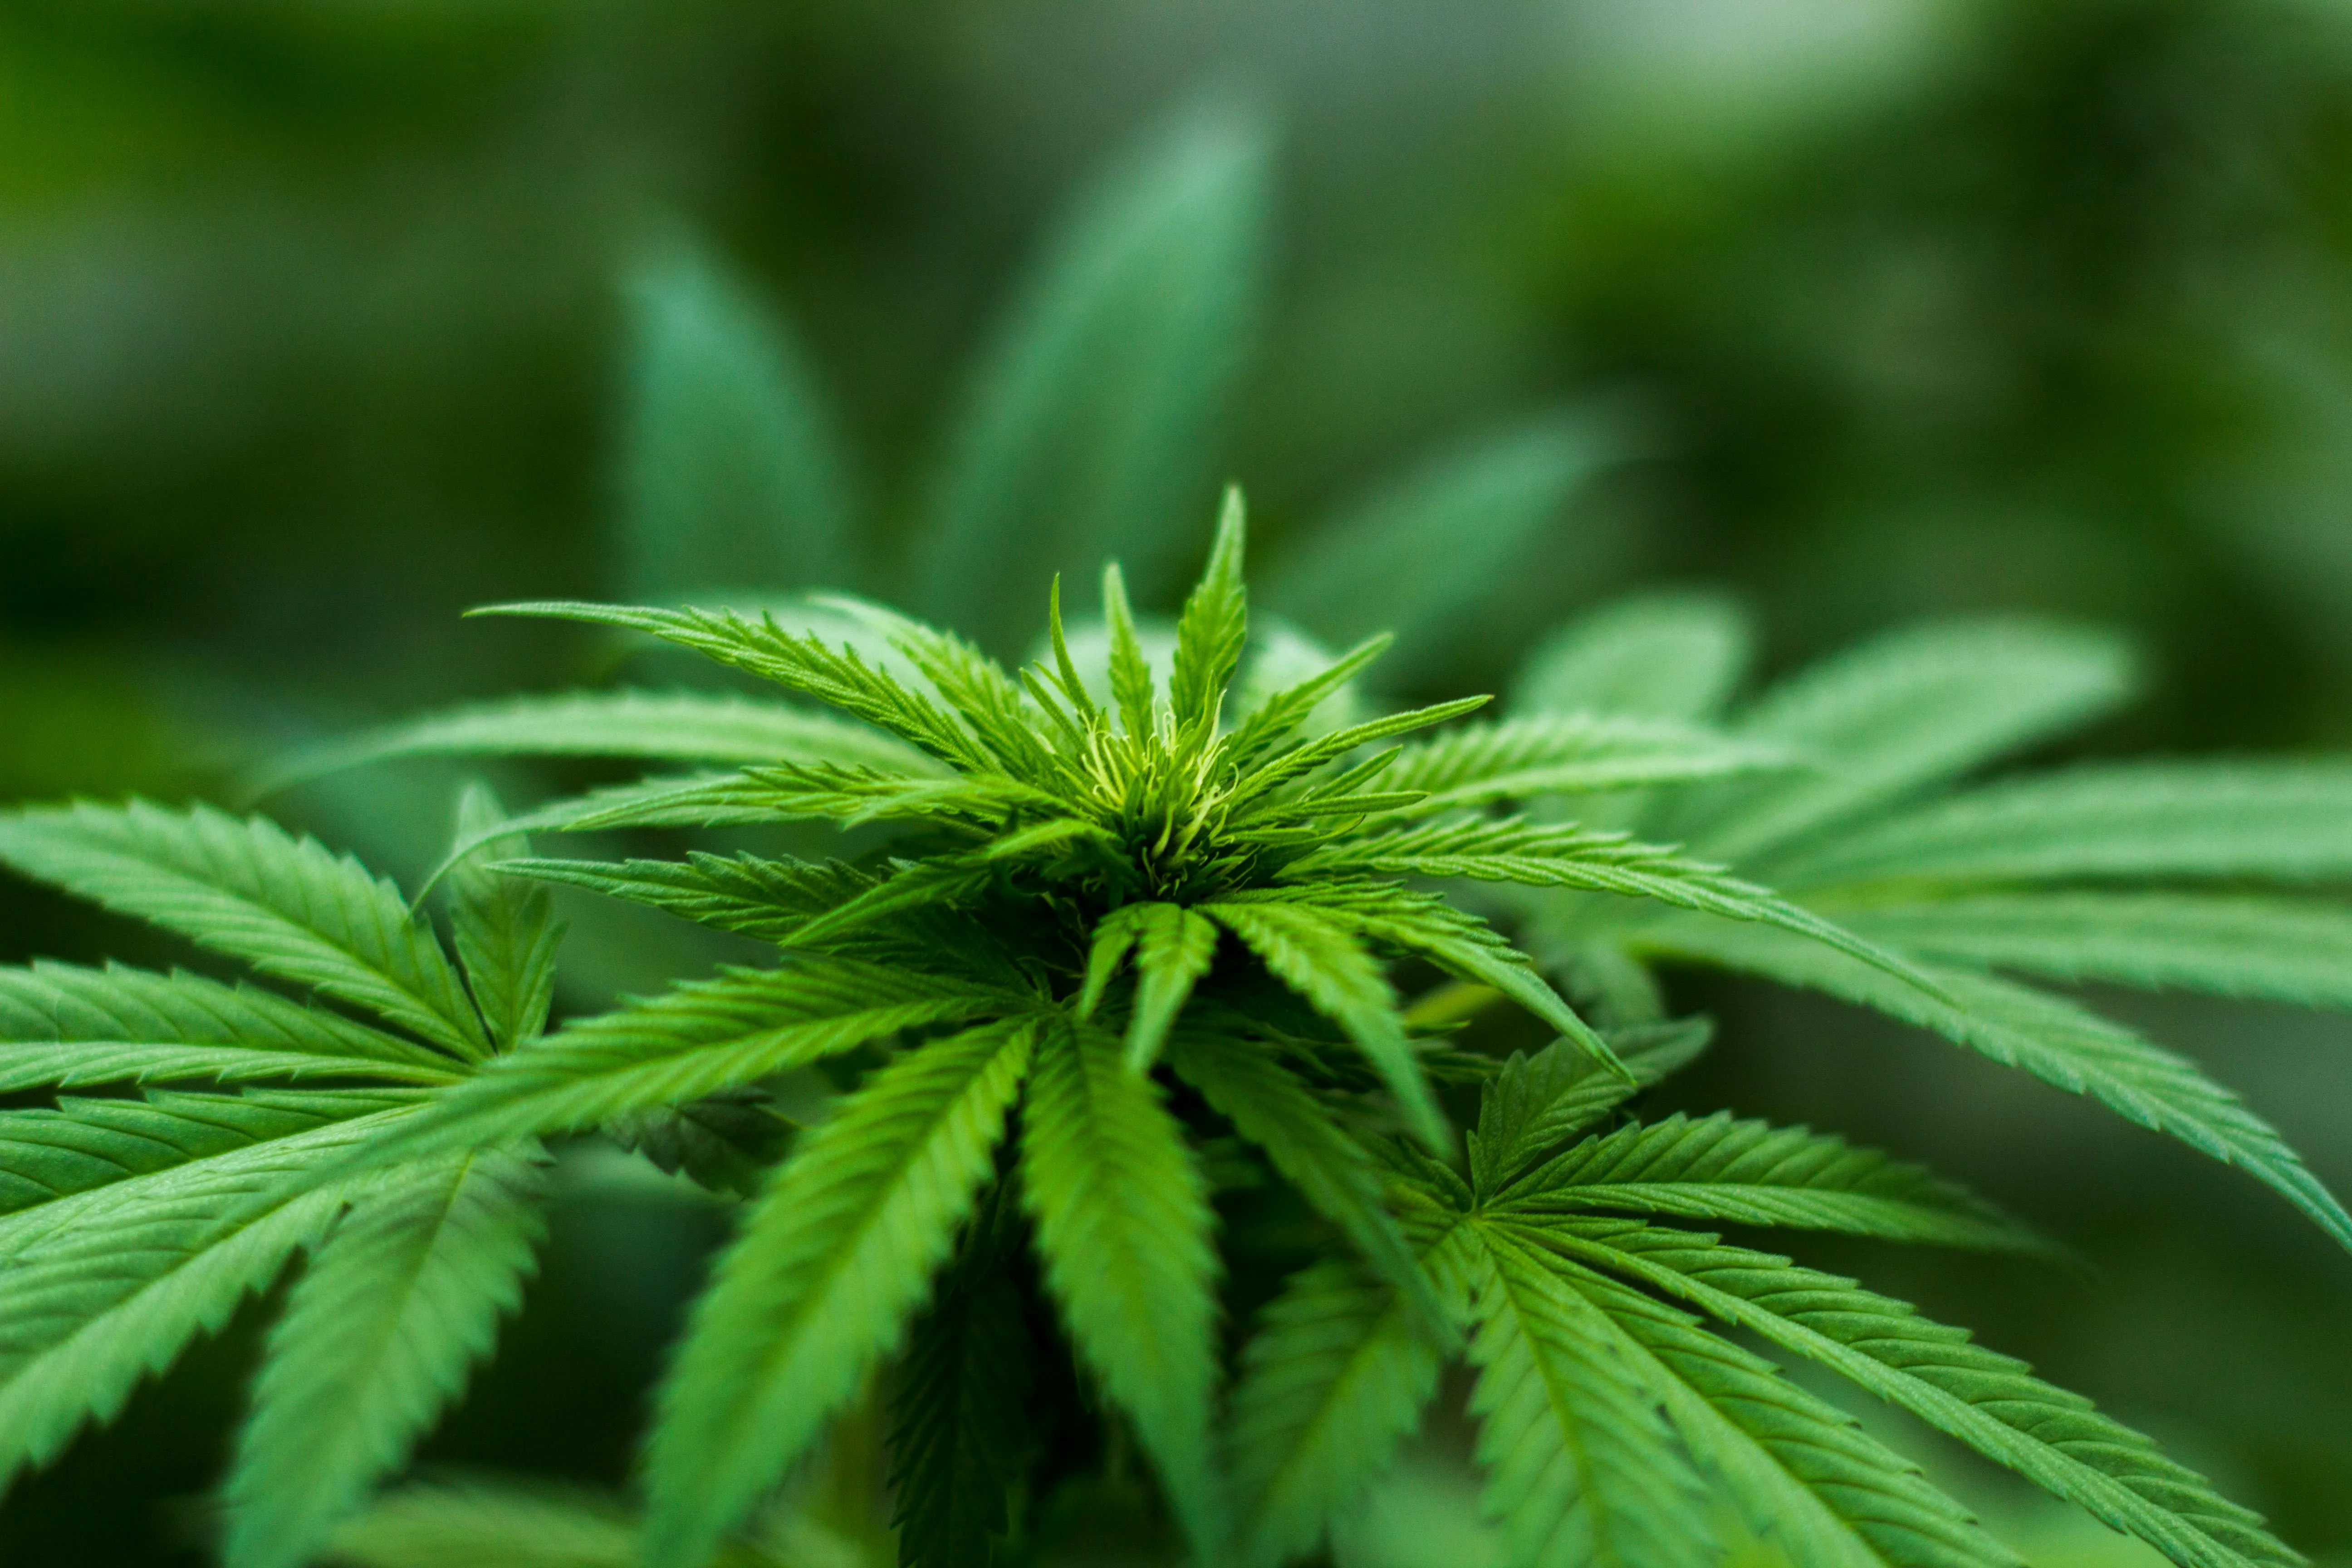
Before we dive into the recipe, let’s discuss the importance of sourcing high-quality weed butter. The quality of your ingredients is crucial in creating a tasty dish, and this rule applies double when it comes to weed butter. You want to ensure that you’re using top-shelf cannabis to infuse your butter, as this will result in a more potent and flavorful product.
Now, let’s get started!
Ingredients:
1. High-quality cannabis (about 1 ounce for every pound of butter)
2. Unsalted butter (1 pound)
3. Water (about 1 cup)
4. Cheesecloth or a fine mesh strainer
5. Double boiler or slow cooker
6. Grinder (optional, but recommended)
7. Oven (for drying out your cannabis if you don’t have a grinder)
Step 1: Preparing Your Cannabis
Before we can begin the infusion process, we need to decarboxylate our cannabis. This crucial step ensures that the THC in your weed is activated and ready for absorption into the butter. To do this, preheat your oven to 240°F (115°C) and spread your cannabis evenly on a baking sheet. Bake for about 30-40 minutes, then let it cool completely.
Step 2: Grinding Your Cannabis
Grind your decarboxylated cannabis using a grinder (if available). If you don’t have a grinder, simply crush the cannabis with your fingers or a rolling pin. Be sure not to overgrind, as this can make straining difficult later on.
Step 3: Infusing the Butter
Combine your ground cannabis and butter in the bottom of a double boiler or slow cooker. If using a slow cooker, fill the water basin with enough water to cover the butter mixture halfway. Set the heat to low and let the mixture simmer for 2-3 hours, stirring occasionally.
Step 4: Straining Your Weed Butter
Once your infusion has finished cooking, it’s time to strain the butter. Line a fine mesh strainer or cheesecloth with a layer of cheesecloth and place it over a clean container. Carefully pour the infused butter through the strainer, allowing the liquid to pass through while capturing the cannabis solids.
Step 5: Cooling and Storing Your Weed Butter
Allow your weed butter to cool completely before covering and storing in the refrigerator. You can keep it for up to two weeks in an airtight container, or freeze it for longer storage.
Now that you’ve mastered the art of creating weed butter, you can get creative with your culinary creations! Use your weed butter to make delicious edibles like cannabis-infused cookies, brownies, and even pasta dishes. Remember, start with small doses, as it can take up to two hours for the effects of edibles to kick in, and always enjoy responsibly.
Happy cooking, friends! If you found this guide helpful, be sure to share it with your fellow cannabis culinary enthusiasts. Until next time, happy baking!